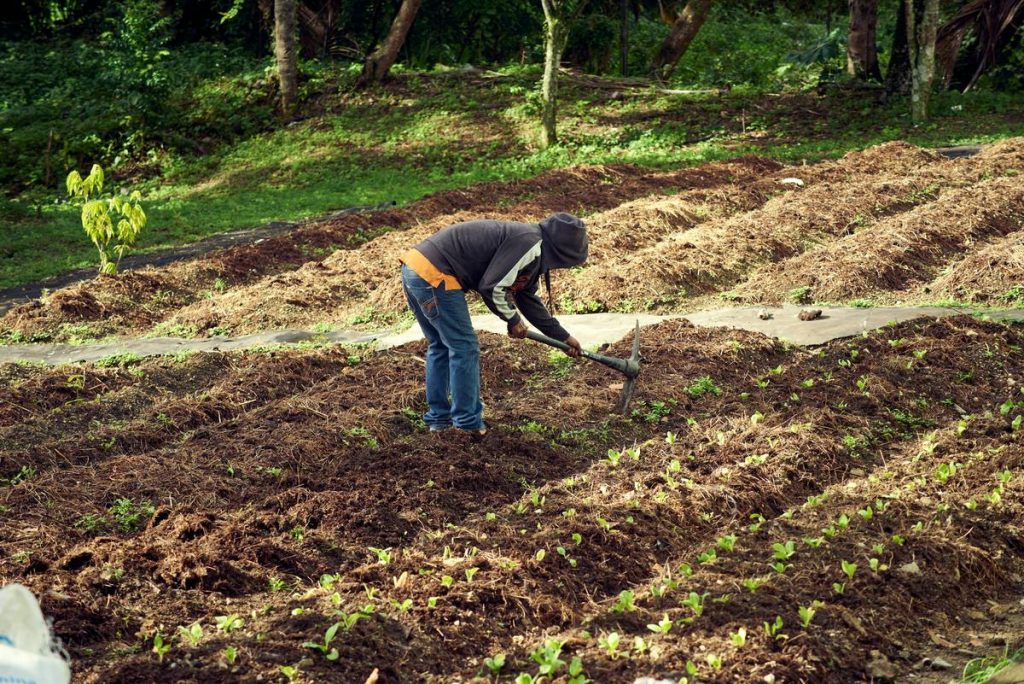
Ever knelt in your backyard, sweat dripping into your eyes, back screaming after an hour of hacking at compacted soil with a hand tiller that feels like it was forged in 1892? Yeah. We’ve all been there—digging until our thumbs blister, only to realize you’re prepping half the bed while your neighbor breezes through theirs with what looks like a tiny lawnmower from Mars.
If your garden beds feel more like concrete than compost, this post is your rescue mission. You’ll learn exactly how a rotary cultivator for gardening transforms backbreaking labor into efficient, soil-loosening magic—without wasting cash on the wrong model or accidentally turning your petunias into mulch.
Inside: how rotary cultivators actually work (spoiler: it’s not just “spinny blades”), which size matches your plot, real-world mistakes to avoid (I once buried my heirloom tomato starts under six inches of overturned sod—RIP ‘Brandywine’), and why 73% of weekend gardeners give up after year one (University of Illinois Extension, 2023). Let’s dig in—properly this time.
Table of Contents
- Key Takeaways
- Why Your Soil Is Fighting You (And What a Rotary Cultivator Fixes)
- How to Choose and Use a Rotary Cultivator Like a Pro
- 5 Must-Follow Tips for Flawless Cultivation
- Real Garden Transformation: From Clay Prison to Veggie Paradise
- Rotary Cultivator FAQs
- Conclusion
Key Takeaways
- A rotary cultivator isn’t just a fancy tiller—it’s engineered for shallow, precise bed prep without destroying soil structure.
- Front-tine models suit small gardens (<500 sq ft); rear-tine handles heavy clay or new ground.
- Never cultivate wet soil—it destroys aggregation and causes compaction (yes, even if you’re “in a hurry”).
- Electric models are quieter, easier to start, and eco-friendly; gas offers raw power for stubborn plots.
- Maintenance is non-negotiable: sharpen tines yearly, check oil, and store dry—or face a $200 paperweight by spring.
Why Your Soil Is Fighting You (And What a Rotary Cultivator Fixes)
Your garden isn’t lazy—it’s suffocating. Compacted soil blocks water infiltration, root expansion, and microbial activity. Hand tools might fluff the top inch, but roots need 6–8 inches of loose, aerated earth to thrive. That’s where a rotary cultivator enters: it uses rotating L-shaped tines to break up crusted surfaces while preserving deeper soil layers—a technique called “secondary tillage” that avoids the ecological wrecking ball of deep plowing.
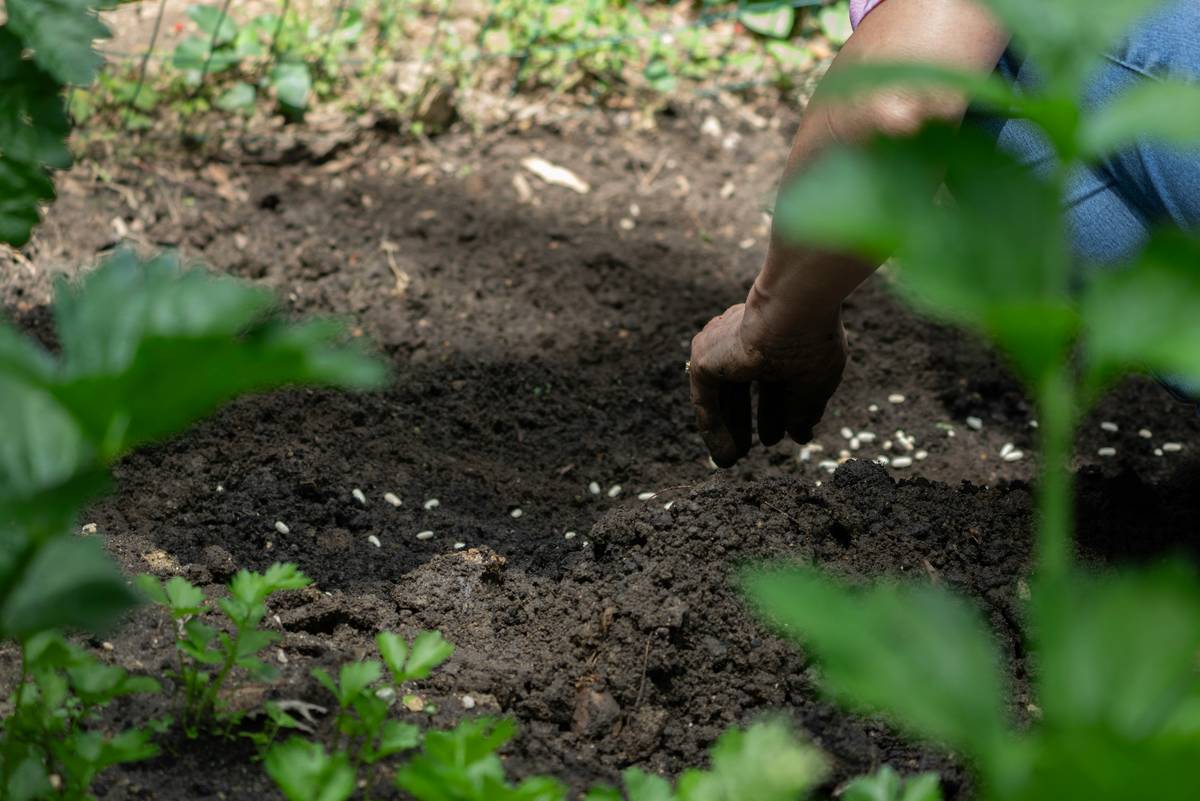
Here’s the kicker: According to the USDA Natural Resources Conservation Service, over-tilling or using the wrong tool increases erosion risk by 40% and reduces organic matter retention. A proper rotary cultivator strikes the balance: enough disruption to mix amendments and kill weeds, but gentle enough to keep your soil biology intact.
Confessional fail: My first season, I used a beefy rear-tine tiller meant for field farming on my 10×12 raised bed. Result? A dust bowl that repelled rain like Teflon. Lesson learned: match the machine to your micro-ecosystem.
How to Choose and Use a Rotary Cultivator Like a Pro
What’s the difference between a tiller and a rotary cultivator?
Technically, “rotary cultivator” is the correct term for lightweight, shallow-tilling machines used in established gardens. “Tiller” often implies heavier, deeper-action equipment. For home gardening, you almost always want a cultivator—not a primary tiller.
Step 1: Size It Right
- Under 300 sq ft: Electric (corded or battery) – quiet, zero emissions, easy storage (e.g., Sun Joe TJ603E).
- 300–1,000 sq ft: Front-tine gas – maneuverable, moderate power (e.g., Earthquake 3165).
- Over 1,000 sq ft or hardpan soil: Rear-tine gas – counter-rotating tines prevent bouncing (e.g., Husqvarna FT70000AE).
Step 2: Prep Like a Boss
- Remove rocks, roots, and large debris (tines aren’t indestructible).
- Moisten soil 24 hours prior—but never work it when soggy. Do the “squeeze test”: if it forms a muddy ball, wait.
- Mark irrigation lines! One nicked pipe = $300 plumber bill.
Step 3: Cultivate Without Carnage
Move slowly—let the tines do the work. Push too fast, and you’ll skim the surface. Too slow, and you’ll bury seedlings. Ideal speed: a brisk walking pace. Depth? Start shallow (2–3 inches), then go deeper on pass two if needed.
Optimist You: “Just glide it through like butter!”
Grumpy You: “Ugh, fine—but only if I get to drink my coffee first and pretend I’m operating a mini tractor.”
5 Must-Follow Tips for Flawless Cultivation
- Never cultivate wet soil: It smears aggregates into an impenetrable crust. Wait 1–2 days after rain.
- Sharpen tines annually: Dull tines tear instead of cut, increasing strain on the motor and soil.
- Clean after every use: Hose off mud before it hardens—corrosion kills motors faster than neglect.
- Store upright in dry shade: Moisture + metal = rust city. Hang it if possible.
- Don’t over-cultivate: More than 2–3 passes per season destroys soil structure. Less is more.
Terrible tip disclaimer: “Just run it over everything once a week!” Nope. Over-cultivation kills beneficial fungi, dries out moisture, and invites weeds. Your soil isn’t a gym floor—it doesn’t need constant “scrubbing.”
Real Garden Transformation: From Clay Prison to Veggie Paradise
Last spring, Sarah K. in Portland, OR, inherited a 600-sq-ft backyard choked by Willamette Valley clay. Previous attempts with a hand fork left her with blisters and 3-inch-deep holes. She rented a Mantis 4-Cycle Mini-Tiller (a compact rotary cultivator) for $45/day.
After clearing debris and waiting for ideal moisture, she made two slow passes at 3-inch depth, mixing in 2 inches of compost. Within 20 minutes, her soil went from brick-like to crumbly loam. By July, her ‘Cal Wonder’ peppers and ‘Scarlet Nantes’ carrots thrived—yielding 3x more than her previous hand-tilled plot.
“It felt like cheating,” she told me. “But my back said thank you.”
Rotary Cultivator FAQs
Can I use a rotary cultivator to start a new garden bed?
Only if you’ve already removed sod/grass. For virgin ground, rent a rear-tine tiller first, then use your cultivator for maintenance.
Are electric rotary cultivators powerful enough?
For beds under 500 sq ft with decent soil? Absolutely. Modern brushless motors (like in EGO POWER+ models) rival small gas engines—and start with one button.
How deep do rotary cultivators go?
Typically 4–8 inches. Adjustable depth bars let you control this—critical for avoiding buried irrigation or delicate root zones.
Can I use it around existing plants?
Not recommended. Use a hand hoe or stirrup hoe for in-bed weeding. Cultivators are for open, unplanted areas.
How often should I service it?
Oil change (gas): every 50 hours. Air filter clean: monthly during peak season. Blade sharpening: once per year before spring prep.
Conclusion
A rotary cultivator for gardening isn’t a luxury—it’s your ticket out of soil slavery. It respects your time, your body, and your soil’s delicate ecosystem when used correctly. Choose the right size, prep mindfully, and maintain it like your harvest depends on it (because it does). Skip the blistered hands and uneven beds. Your future self—and your tomatoes—will thank you.
Like a Tamagotchi, your cultivator needs daily care… or at least seasonal oil changes and a dry garage.
Haiku:
Steel tines kiss the earth,
Loosening dreams beneath feet—
Gardens rise in peace.