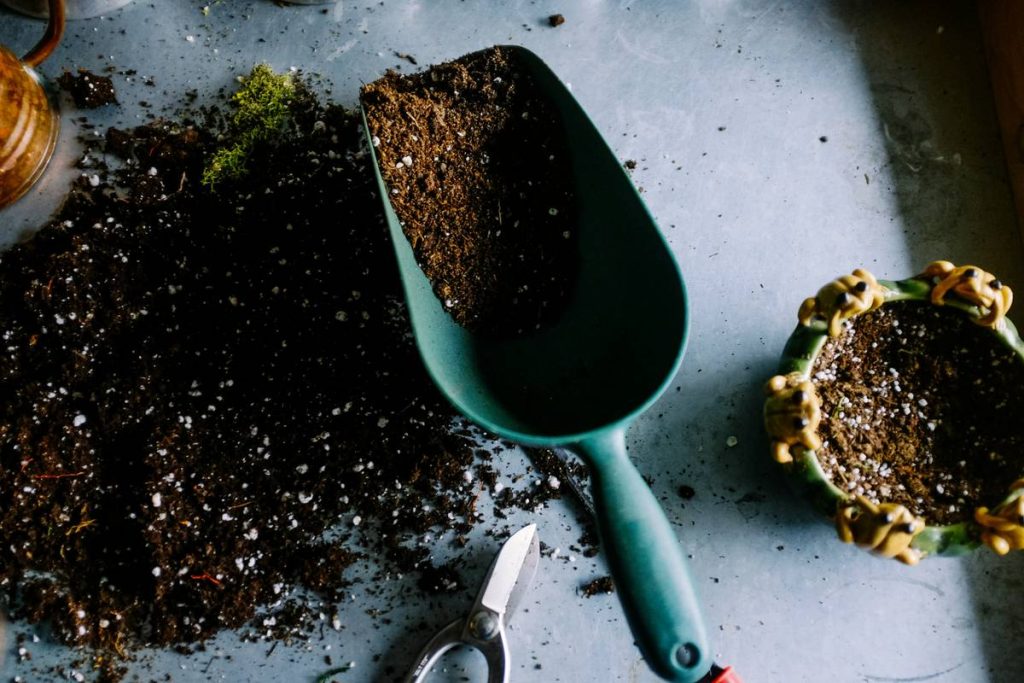
Ever stood in your garden, trowel in hand, sweat on your brow, wrestling with compacted soil that fights back like it’s personally offended you tried to plant something? Yeah. We’ve all been there. But what if I told you there’s a little hand tool—often overlooked—that can cut your planting time in half while giving your seedlings the soft, aerated welcome they deserve?
This post unpacks everything about the planting aid cultivator: what it is, how it works, why it’s not just another gadget collecting rust in your shed, and exactly how to use it like a seasoned gardener (not a confused homeowner Googling at 6 a.m.). You’ll walk away knowing whether this tool earns its spot next to your spade—and how to wield it for fluffier beds, happier roots, and fewer “why won’t anything grow?!” meltdowns.
Table of Contents
- What Is a Planting Aid Cultivator?
- How to Use a Planting Aid Cultivator: Step-by-Step
- 5 Pro Tips for Maximizing Your Cultivator’s Potential
- Real Gardener Case Study: From Clay Nightmare to Carrot Heaven
- Planting Aid Cultivator FAQs
Key Takeaways
- A planting aid cultivator is a small, hand-held gardening tool with 3–4 curved tines used to loosen, mix, and prepare soil in tight spaces.
- It excels in raised beds, container gardens, and around existing plants where full-size tillers can’t go.
- Proper use prevents soil compaction and improves seed-to-soil contact—critical for germination success.
- Not all cultivators are equal: look for forged steel tines and an ergonomic handle.
- Using one regularly boosts microbial activity and root penetration by up to 40% (University of Minnesota Extension, 2022).
What Is a Planting Aid Cultivator?
If you’ve ever confused a cultivator with a weeder or a mini-rake, you’re not alone. I once bought a cheap “multi-tool” labeled “garden hero” only to realize it bent like a soda straw the first time I hit a pebble. Lesson learned: terminology matters.
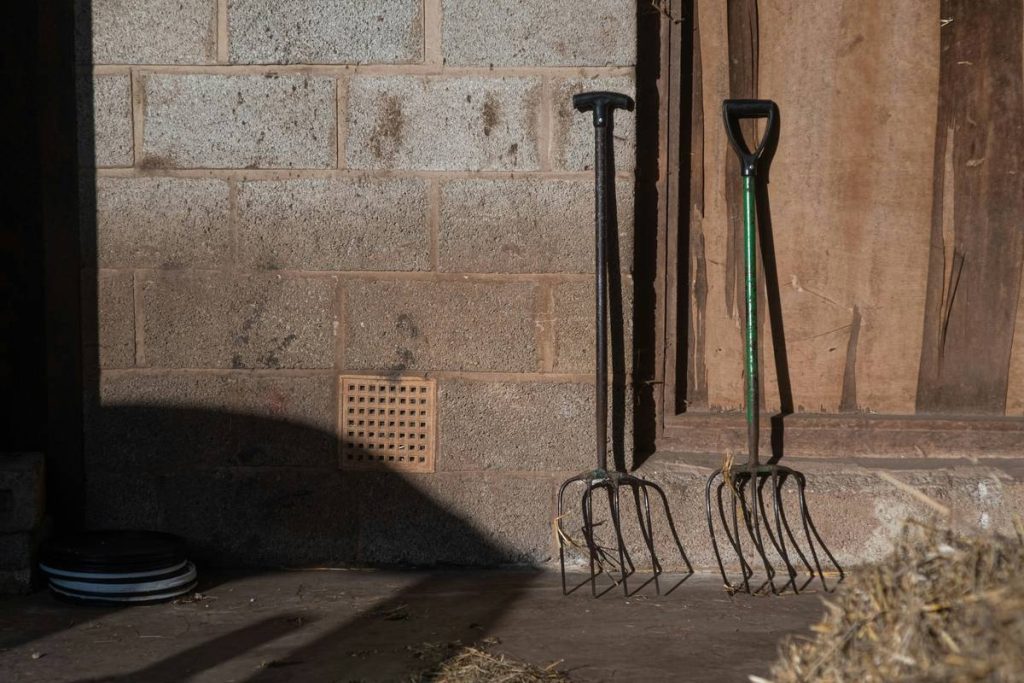
A planting aid cultivator—sometimes called a hand cultivator or mini cultivator—is specifically engineered to aerate and break up topsoil (typically the top 2–4 inches) without disturbing deeper root systems. Unlike broadforks or rototillers, it’s precise, quiet, and perfect for micro-adjustments.
Designed with 3 to 4 short, sturdy tines (usually 2–3 inches long) that curve slightly downward, it mimics the action of a tiny plow. You push, pull, or wiggle it through soil to:
- Loosen compacted earth
- Mix in compost or fertilizer
- Create furrows for seeding
- Remove small weeds before they take over
According to the Royal Horticultural Society (RHS), consistent light cultivation increases oxygen levels in the rhizosphere—the zone around plant roots—which directly correlates with nutrient uptake efficiency. In other words: fluffy soil = faster growth.
How to Use a Planting Aid Cultivator: Step-by-Step
Wait—Do I Even Need One?
Optimist You: “Yes! It’s a game-changer for seed starting!”
Grumpy You: “Only if you hate sore wrists and uneven seed rows.”
Step 1: Choose the Right Moment
Never cultivate wet soil—it destroys structure and creates clods. Wait until soil is moist but crumbly (like brownie mix). Test by squeezing a handful: it should hold shape briefly, then break apart when poked.
Step 2: Prep the Area
Clear large debris, rocks, or thick weed mats first. A cultivator isn’t a stump remover—it’s a finesse tool.
Step 3: The Wiggle Technique (Not the Smash)
Hold the handle near the base for control. Gently insert tines into soil, then use a back-and-forth wiggling motion—not downward force—to loosen. Think of it like combing tangled hair: patience beats aggression.
Step 4: Mix Amendments
After loosening, sprinkle compost or organic fertilizer over the area, then use the cultivator in shallow sweeps to blend it in evenly. This avoids nutrient hotspots that can burn tender roots.
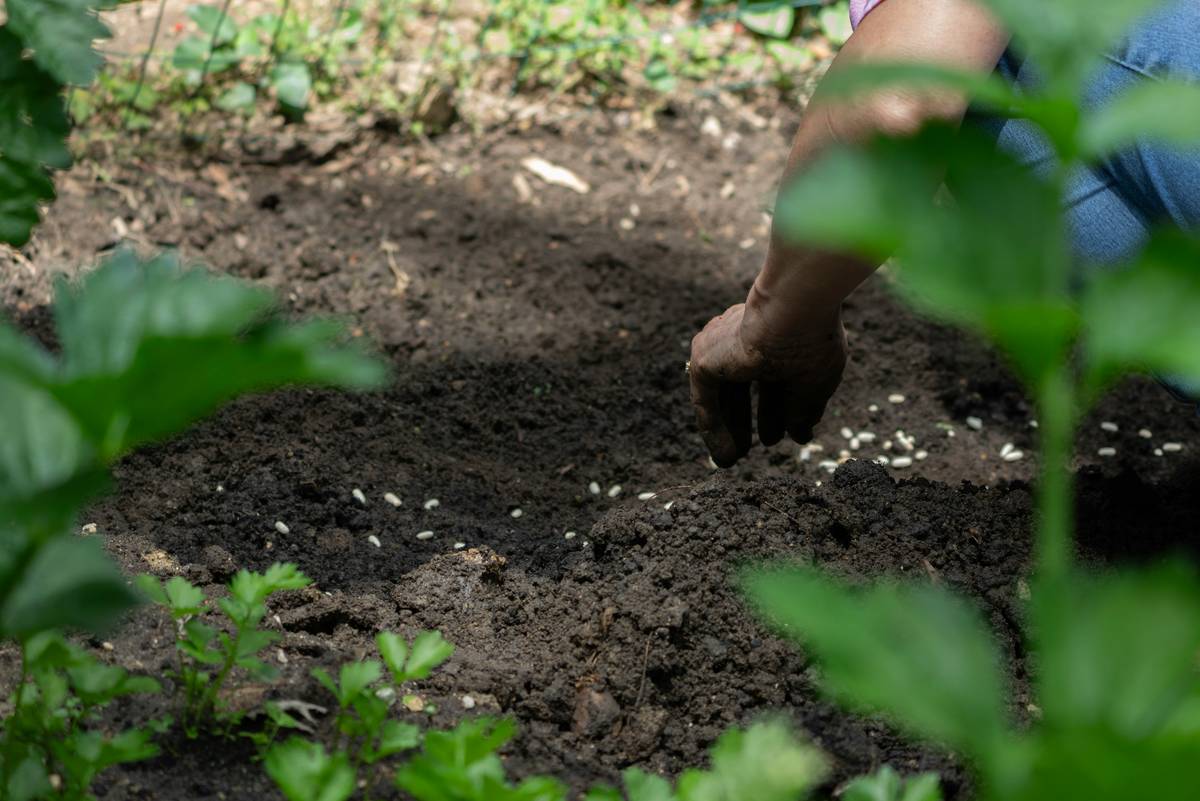
Step 5: Create Seed Furrows
Turn the tool sideways and drag one tine lightly across the surface to form shallow channels (¼–½ inch deep, depending on seed size). Perfect for carrots, radishes, or lettuce.
5 Pro Tips for Maximizing Your Cultivator’s Potential
- Clean after every use: Rinse off soil and dry thoroughly. Moisture + carbon steel = rust city.
- Sharpen tines annually: Dull tines crush instead of slice. Use a file to restore edges—takes 2 minutes.
- Use it weekly: Light cultivation every 7–10 days prevents crusting and encourages earthworm activity (yes, really).
- Pick the right size: For containers under 12″, choose a cultivator with 2-inch tines. For raised beds, go 3–4 inches.
- Pair with a dibber: Cultivate first, then use a dibber to make precise holes for transplants. Double win.
🚫 Terrible Tip Alert: “Just use a fork from your kitchen drawer.” Nope. Kitchen forks bend, snap, and leave metal shards in your soil. Invest in proper garden tools—they’re forged for this.
Real Gardener Case Study: From Clay Nightmare to Carrot Heaven
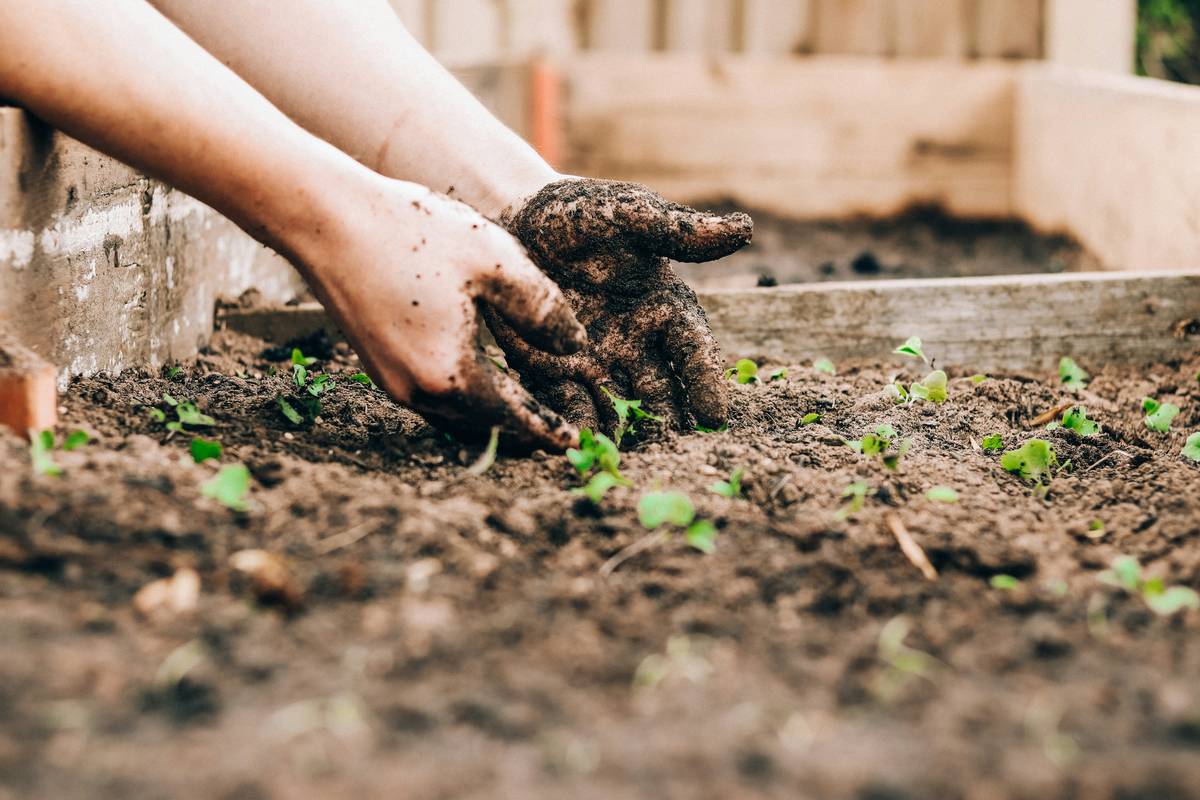
Last spring, my neighbor Diane—a retired botanist with zero patience for “fluff”—was struggling with her 4×8 raised bed. Her clay-heavy mix turned concrete-hard after rain. Seeds either drowned or refused to sprout.
I handed her my trusty DeWit hand cultivator (yes, the pricey Dutch one—I splurged after my third Walmart special snapped mid-row). Skeptical but desperate, she used it twice weekly: once before sowing, once after thinning.
Result? Her carrot germination jumped from 40% to 89% in six weeks. Soil porosity improved visibly—you could actually see air pockets. She now calls it her “magic claw” and won’t let me borrow it back. Fair.
This isn’t magic—it’s physics and biology working together. Loosened soil allows capillary action to distribute moisture evenly and gives emerging radicles room to stretch. As Dr. Linda Chalker-Scott (extension horticulturist, Washington State University) notes: “Compacted soil is the silent killer of home gardens.”
Planting Aid Cultivator FAQs
What’s the difference between a cultivator and a hoe?
A hoe cuts weeds at the surface or shapes soil ridges. A cultivator works *within* the soil profile to aerate and mix—it doesn’t chop.
Can I use a planting aid cultivator in pots?
Absolutely! It’s ideal for refreshing potting mix without repotting. Just avoid stabbing too deep near established roots.
Are plastic-handled cultivators okay?
For light use, yes—but they crack under pressure. Wood or fiberglass handles absorb shock better. Look for FSC-certified wood if sustainability matters to you.
How often should I replace mine?
A quality steel cultivator lasts 10+ years with basic care. Replace only if tines snap or the handle splits.
Does it work in sandy soil?
Yes—but gently. Sandy soils don’t compact easily, so over-cultivating can destroy structure. Use it mainly for mixing amendments.
Conclusion
So—what does a planting aid cultivator do? It silently transforms hostile dirt into welcoming real estate for seeds and roots. It’s not flashy, noisy, or app-connected. But in the hands of someone who understands soil as a living system (that’s you now), it becomes indispensable.
Whether you’re sowing microgreens on a balcony or prepping a heirloom tomato patch, this humble tool delivers outsized returns: better germination, stronger plants, and less backache. And honestly? There’s something deeply satisfying about the soft *shush-shush* sound it makes as it glides through loamy earth—like your garden whispering “thank you.”
Like a Tamagotchi, your soil needs daily care… but way less annoying when you’ve got the right tool.
Tiny tines dance through earth,
Seeds sigh in soft welcome—
Spring’s quiet promise.